Dec 4, 2025
Soundproofing and Acoustics in a Sports Simulator Room
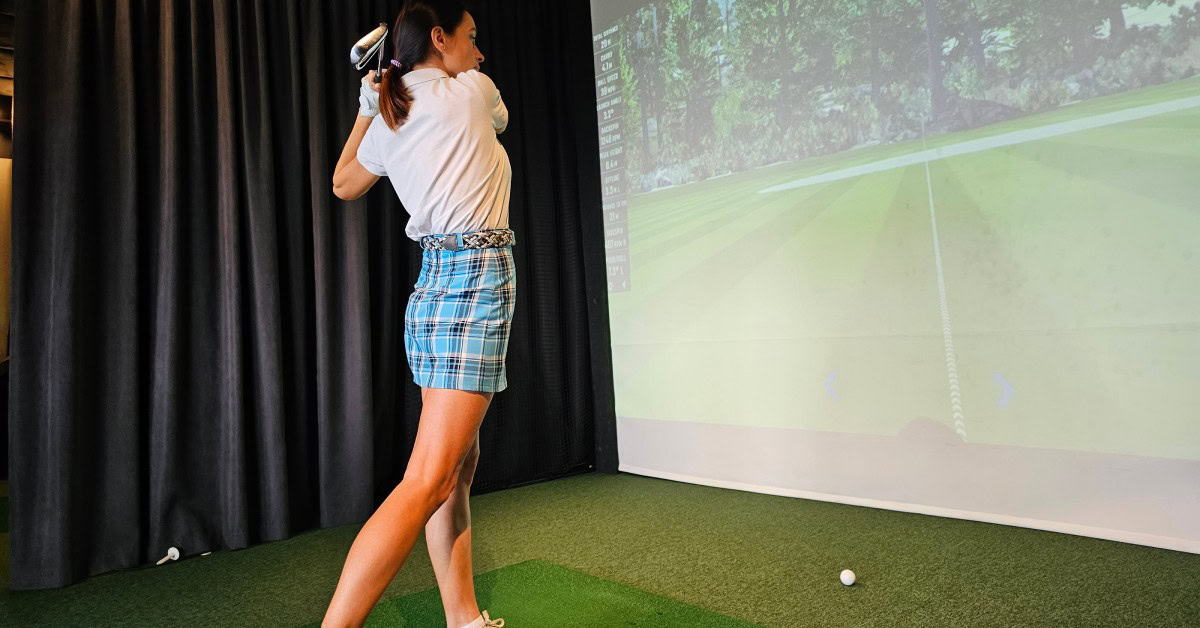
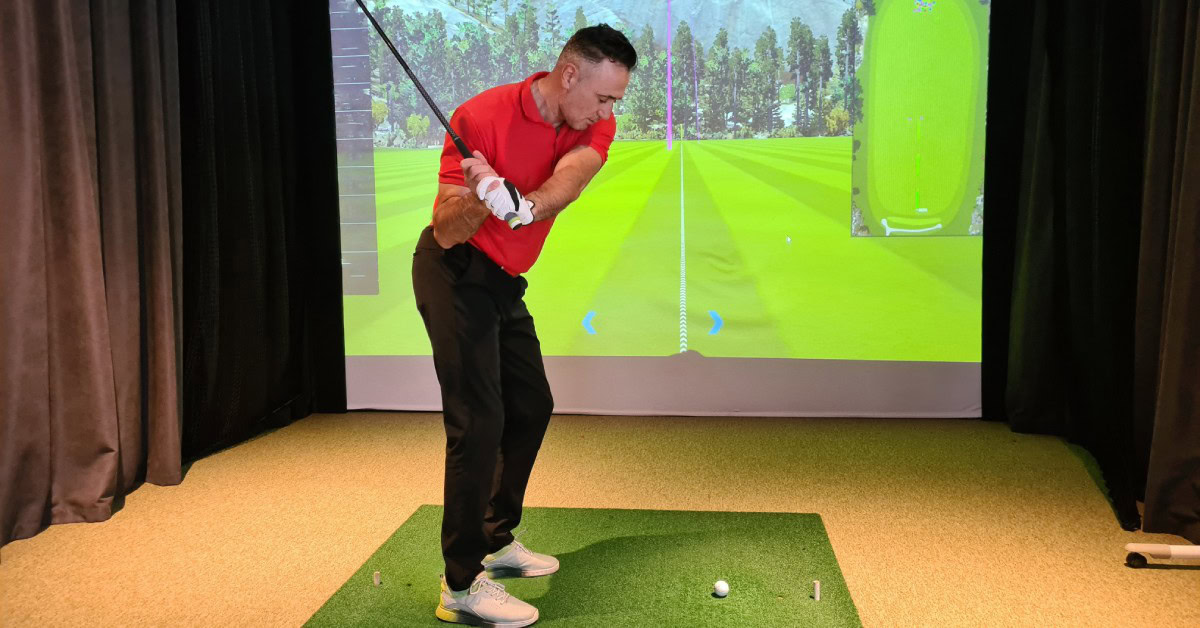
You have invested in a state-of-the-art sports simulator. The screen is massive, the graphics are hyper-realistic, and the system offers over 30 different games. You are ready to tee off at Pebble Beach or kick a field goal in a packed stadium. But as you swing your club or kick the ball, the loud thwack echoes through your house, disturbing your family. The immersive experience you dreamed of feels incomplete.
Proper sound management is the final piece of the puzzle for creating the ultimate sports sanctuary. It ensures the roar of the crowd stays within the room and that every sound inside enhances your gameplay. Without it, you risk creating a noisy environment that detracts from the fun and disturbs others.
Soundproofing vs. Acoustics: What’s the Difference?
People often use the terms “soundproofing” and “acoustics” interchangeably, but they refer to two different aspects of sound control. Understanding this distinction is the first step toward creating the perfect audio environment for your sports simulator.
Soundproofing, or sound isolation, focuses on preventing sound from entering or leaving a room. The goal is to block external noises from disrupting your game and to keep the sounds from your simulator from disturbing the rest of your household. Think of it as creating a sound-tight container.
Acoustics, on the other hand, deal with the quality of sound within a room. It involves managing how sound waves behave once they are in the space. Good acoustics eliminate echo and reverberation, ensuring the audio from your simulator’s speakers sounds crisp, clear, and balanced.
For the ideal simulator room, you need to address both. Soundproofing keeps the peace with your family and neighbors, while acoustics make your simulation sports games sound as realistic as they look.
How To Soundproof Your Simulator Room
Effective soundproofing requires a multi-layered approach that targets walls, floors, ceilings, doors, and windows. The key principles are adding mass, damping vibrations, and decoupling structures.
Upgrade Your Walls
Your walls are usually the largest surface area and a primary path for sound transmission. To soundproof them, you need to add dense materials that block sound waves.
Start by adding a layer of mass-loaded vinyl (MLV) to your existing drywall. MLV is a heavy, flexible material that effectively blocks a wide range of frequencies. For even better results, you can build a second wall (a “room-within-a-room”) with an air gap between the new and existing walls. This decoupling technique stops vibrations from passing through the structure.
Filling the wall cavity with dense insulation, such as rockwool or fiberglass, also helps absorb sound. Finally, use two layers of 5/8-inch drywall instead of the standard 1/2-inch to add even more mass. Applying a layer of Green Glue Noiseproofing Compound between the drywall layers will further dampen vibrations.
Address Floors and Ceilings
Impact noises, like the thud of a golf ball hitting the floor or the cheers from your simulator’s speakers, can easily travel through floors and ceilings. For floors, start by installing an acoustic underlayment beneath your flooring. Materials like rubber or cork are excellent for absorbing impact vibrations. If you have a hard-surface floor, like wood or tile, adding a thick, dense area rug will also help absorb sound.
For ceilings, you can use resilient isolation clips and furring channels to decouple the drywall from the ceiling joists. This step creates a floating ceiling that prevents vibrations from traveling to the floor above. Just like with the walls, adding insulation and a double layer of drywall with Green Glue will significantly improve sound isolation.
Replace Doors and Windows
Doors and windows are common weak points in any soundproofing project. A standard hollow-core door offers very little sound resistance.
Replace it with a solid-core door, which has much more mass. To seal the gaps around the door, install high-quality weatherstripping around the frame and a door sweep at the bottom. An exterior-grade door often provides the best sound isolation.
If your room has windows, consider replacing them with double- or triple-pane acoustic-grade windows. These have laminated glass and wider air gaps to block sound effectively. If replacing windows is not an option, you can add a window insert or hang heavy, sound-dampening curtains.
How To Improve Your Simulator Room’s Acoustics
Once you have soundproofed the room, it is time to fine-tune the acoustics inside. The goal is to control sound reflections to eliminate echo and improve clarity.
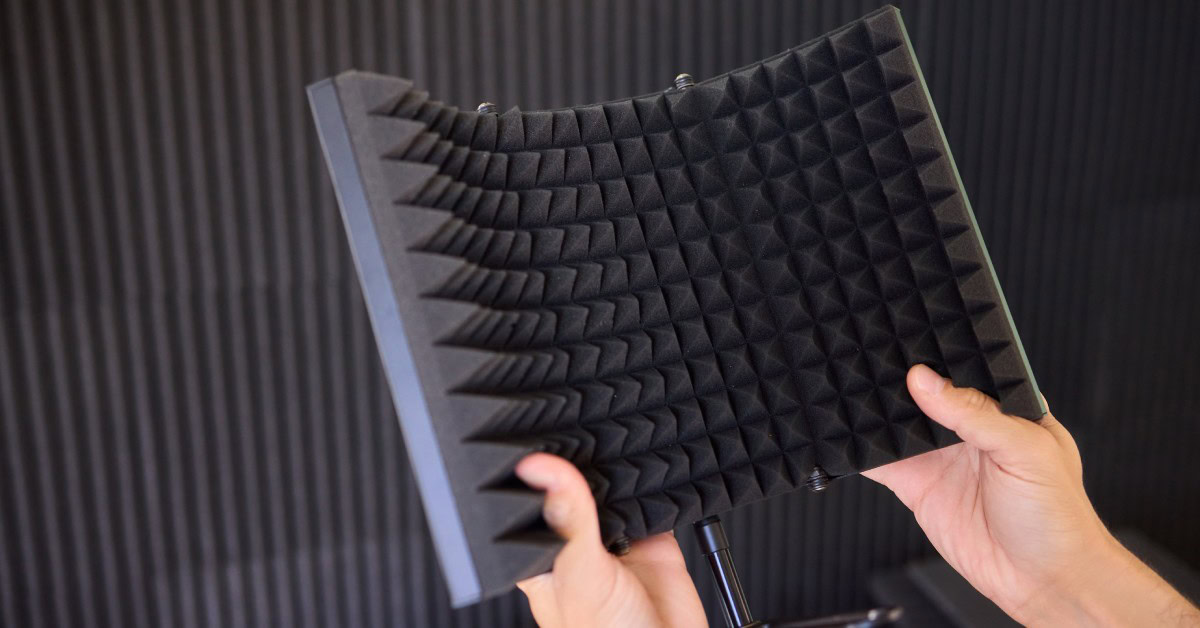
Add Absorption
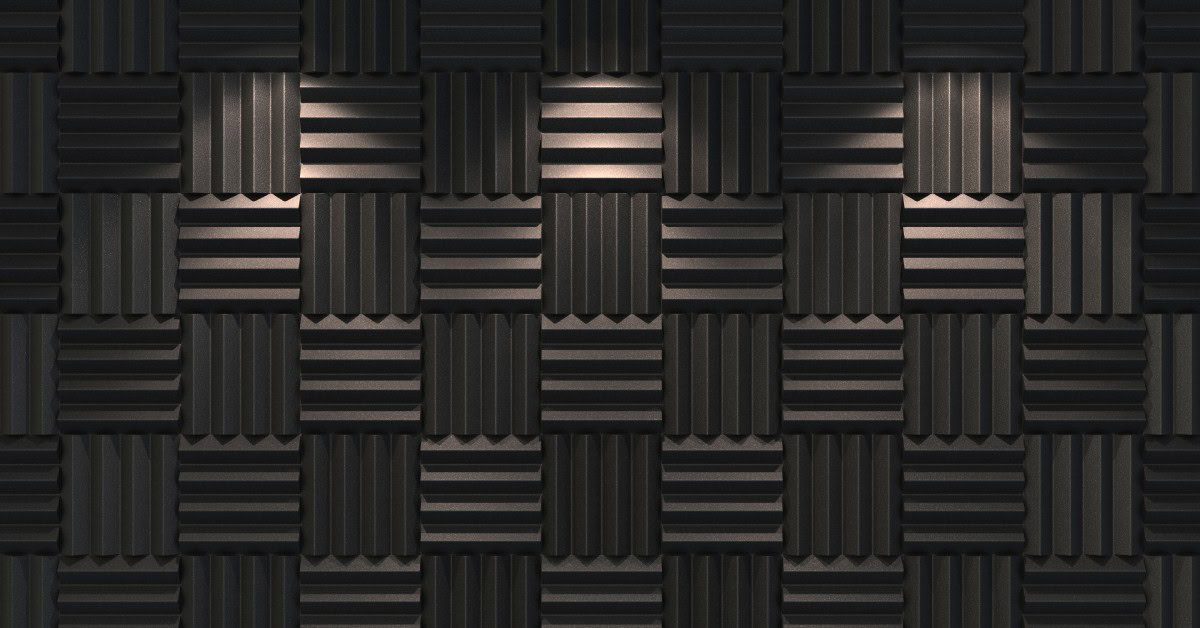
Hard, flat surfaces like drywall, wood floors, and glass reflect sound, causing echoes and reverberation. To combat this, you need to add soft, porous materials that absorb sound waves.
Acoustic panels are the most effective solution. You can mount these fabric-wrapped panels on your walls and ceiling to absorb mid- and high-frequency sounds. Place them at the first reflection points—the spots where sound from your speakers bounce off a surface before reaching your ears. To find these points, sit in your primary playing position and have a friend slide a mirror along the walls. Wherever you can see the speaker in the mirror is the first reflection point.
Other absorptive materials include bass traps, which you should place in the room’s corners to control low-frequency sounds. Thick carpets, plush furniture, and heavy curtains also contribute to sound absorption. Getting the right soundproofing and acoustics in a sports simulator room will make a world of difference.
Use Diffusers
While absorption is essential, too much of it can make a room sound dead and unnatural. To create a balanced and lively acoustic environment, you also need diffusion.
Diffusers are specially designed panels that scatter sound waves in multiple directions. This addition breaks up strong reflections without removing sound energy from the room, resulting in a more spacious and natural sound. Place diffusers on the back wall or ceiling to help create a sense of immersion.
You can purchase pre-made diffusers or build your own. Even a bookshelf filled with books of varying sizes can act as an effective diffuser. By combining absorption and diffusion, you can achieve professional-grade acoustics that bring your virtual sports to life.
Your Ultimate Sports Sanctuary
Creating the perfect environment for your HD SportSuite simulator involves more than just great visuals and technology. Excellent soundproofing and acoustics in a sports simulator room truly elevate the experience from a simple game to a fully immersive adventure. By blocking out distractions and optimizing the sound within your space, you create a sanctuary where you can fully lose yourself in the action.
Take the time to plan your sound management strategy. Assess your room, decide which techniques fit your budget and needs, and implement them step by step. The result will be a space that not only looks and feels incredible, but also sounds phenomenal.