Feb 24, 2026
How To Measure Spaces for a New Sports Simulator
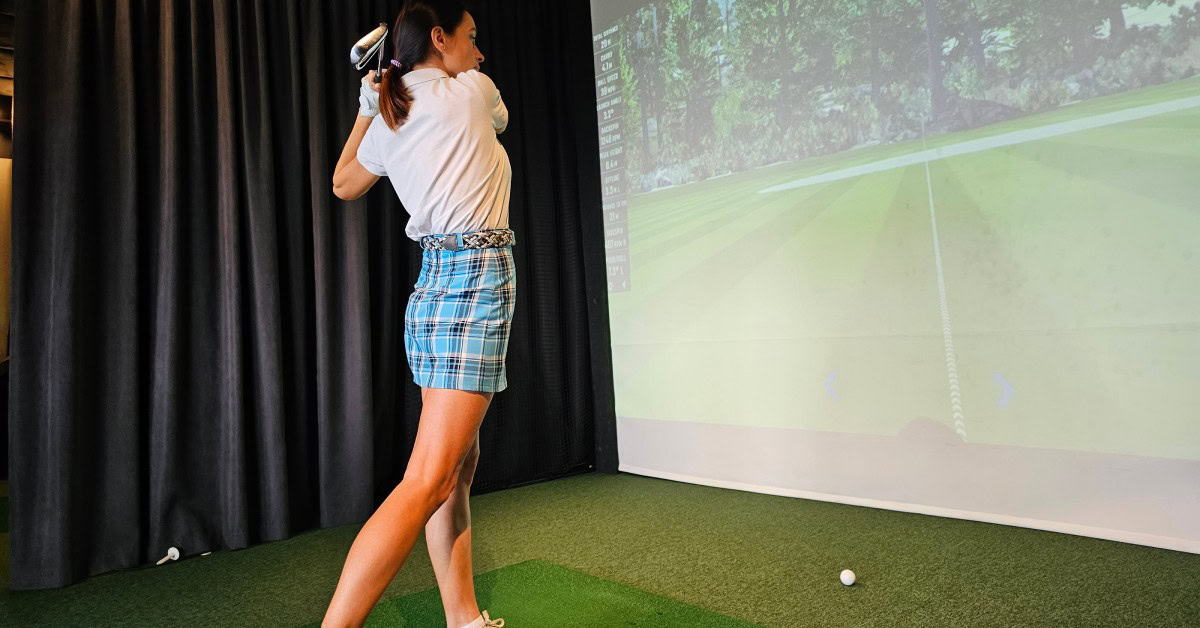
Installing a sports simulator changes how you play, train, and entertain. Before you choose software, screens, or turf, you need accurate measurements. Clear dimensions protect your investment and help you avoid costly adjustments later. This guide explains how to measure spaces for a new sports simulator with precision and confidence.
Why Accurate Measurements Matter
You cannot guess your way through a simulator installation. Ceiling height, room width, and room depth all affect performance and safety. Even a few inches can limit swing clearance or camera tracking. Accurate planning ensures you protect both your space and your equipment.
HD SportSuite systems use advanced camera technology to track ball speed, spin, and club data with remarkable precision. That technology performs best when placed in a properly sized space. Accurate measurements ensure the system captures every movement without obstruction.
Step 1: Measure Ceiling Height First
Start with ceiling height because it determines whether the room qualifies at all. Use a laser measure or tape measure and record the exact height from floor to ceiling. Measure in multiple areas to confirm consistency. Small dips or slopes can affect swing clearance.
Most full-swing setups require generous vertical clearance. Taller players need additional space to swing comfortably without altering mechanics. If you install ceiling-mounted components, factor those into your final usable height.
Account for Fixtures and Obstructions
Ceiling fans, beams, soffits, and light fixtures reduce usable height. Measure from the floor to the lowest obstruction, not the drywall ceiling. If you plan to remove or relocate fixtures, confirm that change before finalizing measurements. Never assume that a flush-mounted light sits high enough.
Step 2: Measure Room Width
Next, measure the full width of the room from wall to wall. Record the widest dimension and note any baseboards or trim. Measure at floor level and at impact screen height to confirm consistency. Width directly affects player comfort and overall layout.
Room width influences several critical elements of your setup. It impacts both performance and usability, especially in shared spaces. You should evaluate the room with real-world movement in mind before locking in specifications. Consider how players, guests, and furniture will interact with the simulator.
- Screen size options
- Camera placement zones
- Seating or lounge space
- Multi-player functionality
If you plan to entertain, allow additional width for spectators. Commercial installations in sports bars or resorts often require extra clearance to support traffic flow and maintain safety.
Step 3: Measure Room Depth
Room depth determines ball flight distance and player positioning. Measure from the back wall to the opposite wall. Then subtract space for impact screens, padding, or enclosure systems. Always calculate usable depth rather than total depth.
A deeper room allows better visual immersion and more realistic ball tracking. It also supports other simulated sports beyond golf, including baseball, soccer, lacrosse, and more that require movement tracking. HD SportSuite systems offer more than thirty sports and games in one space. However, you must ensure enough depth to support that versatility.
Step 4: Identify the Hitting Zone
After you record the room’s total dimensions, identify the hitting zone. This area includes the player’s stance, ball position, swing arc, and camera tracking field. Mark the center point where players will stand. Then measure outward in all directions to confirm full clearance.
Many homeowners overlook swing path clearance during early planning. You should physically simulate a full backswing and follow-through in the space. If multiple players use the simulator, plan for both right- and left-handed swings. Balanced spacing prevents awkward repositioning between turns.
To properly define the hitting zone, evaluate all surrounding surfaces and obstructions. You need to think beyond walls and include doors, columns, and mounted equipment. A safe hitting zone protects both players and the room itself. Use this checklist as you confirm spacing:
- Full backswing clearance
- Follow-through clearance
- Sidewall protection distance
- Camera tracking alignment space
Step 5: Check Floor Level and Surface

Use a level to check the floor across the hitting zone. Uneven flooring can disrupt stance stability and sensor alignment. Even minor slopes can impact shot data and player balance. Flat, stable flooring ensures consistent performance.
If you plan to install turf or flooring panels, include their thickness in your ceiling calculations. Raised platforms reduce vertical clearance. Always measure with final flooring materials in mind before finalizing dimensions.
Step 6: Confirm Screen and Enclosure Space
Impact screens require more than wall space. They need a buffer room to absorb ball impact and protect surrounding structures. Measure the distance from the proposed screen location to the back wall. Confirm that you can safely install padding and framing behind the screen.
You also need to account for side protection and top enclosure framing. Enclosures create a polished, immersive look while improving safety. Proper spacing ensures clean installation and long-term durability. Review these enclosure measurement points carefully:
- Screen-to-wall buffer depth
- Side padding clearance
- Top frame clearance
- Projector mounting distance
Do not mount a screen flush against drywall. Leave adequate clearance to protect both the structure and the simulator components.
Step 7: Consider Lighting Conditions
Lighting affects camera tracking and image clarity. Measure window placement and note natural light sources throughout the day. Excessive glare can reduce projection quality and create inconsistent shadows.
Plan for controlled lighting with dimmable fixtures. Avoid placing bright lights directly above the hitting zone. Position them slightly forward or behind to reduce interference with tracking systems.
Step 8: Account for HVAC and Ventilation
Simulators generate activity, and activity generates heat. Measure vent placement and airflow direction within the room. Confirm that air circulation does not interfere with ball tracking or screen stability.
Avoid placing hitting zones directly under strong air vents. Moving air can affect lightweight practice balls in certain modes. Balanced airflow improves comfort without compromising performance.
Step 9: Map Electrical and Data Access
Modern sports simulators rely on stable electrical and data infrastructure. Measure the distance to outlets and identify dedicated circuits if available—plan cable routing in advance to maintain a clean appearance.
Luxury residential installations often conceal wiring within walls or flooring. Commercial venues may require additional outlets for lighting, displays, or POS systems. Thoughtful infrastructure planning prevents last-minute adjustments and visible cable clutter.
Step 10: Create a Scaled Room Sketch
After collecting all measurements, draw a scaled layout of the space. Include every dimension and structural detail. This sketch helps installers verify compatibility and identify potential concerns early.
Your drawing should clearly show the following elements so everyone works from the same reference point. Clear documentation reduces miscommunication during installation. It also allows professionals to recommend adjustments with confidence.
- Ceiling height
- Width and depth
- Doorways and windows
- Permanent obstructions
- Hitting zone center point
When you carefully follow the steps to measure spaces for a new sports simulator, you eliminate guesswork and accelerate installation.
Measure with Confidence
A sports simulator represents a serious investment in performance and entertainment. You protect that investment by carefully and methodically measuring it. Precision supports accuracy, safety, and immersion.
When you approach asports simulator’s size with attention to detail, you create the foundation for an elite experience. Measure thoroughly, plan strategically, and prepare your space for championship-level play.