Dec 16, 2025
How To Choose the Best Sports Simulator Enclosure Size
Choosing a sports simulator is a major decision. You probably spent hours researching technology, comparing features, and imagining the final setup in your home or business. But many overlook one detail until the last minute: the enclosure size. Selecting the right enclosure is just as important as the simulator technology itself. It ensures safety, enhances immersion, and guarantees you can play without limitations.
An enclosure too small can restrict your movement and create safety hazards from ricochets. One too large might not fit your designated space or compromise the visual quality of the projected image. This guide provides a straightforward, step-by-step process for choosing the best sports simulator enclosure size for your unique space. We will walk you through everything from measuring your room to understanding aspect ratios, ensuring you make an informed decision.
Step 1: Measure Your Room Dimensions
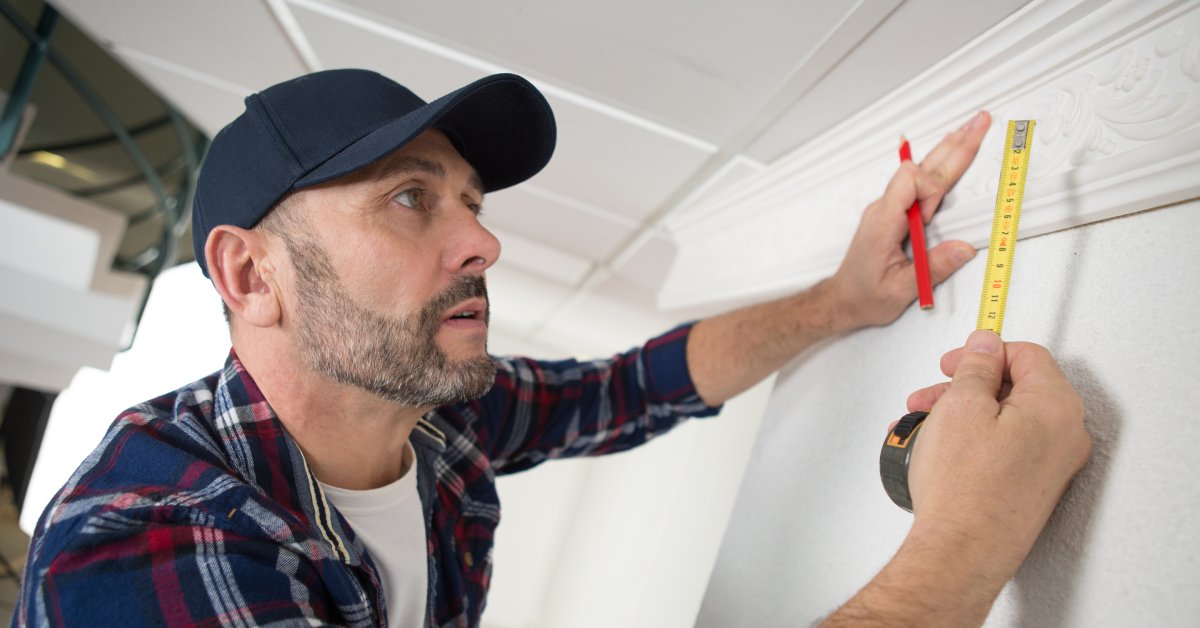
Before you do anything else, you need to accurately measure the room where you plan to install your sports simulator. Do not rely on estimates or architectural drawings. Grab a tape measure and record the precise height, width, and depth of the space. Measure multiple spots to account for any variations in your walls or ceiling.
Ceiling Height
Measure the distance from the floor to the lowest point on your ceiling. Make sure to account for any obstructions like light fixtures, ceiling fans, or support beams. We recommend a minimum ceiling height of nine feet for most sports, but 10 feet or more is ideal. This height allows most players to swing a club or throw a ball without fear of hitting the ceiling.
Room Width
Next, measure the width of your room from wall to wall. A more expansive room provides more flexibility and safety, especially if you plan to have both right-handed and left-handed players. A minimum width of 14 feet is a good starting point. This measurement gives players ample room for a full range of motion without feeling cramped or worrying about hitting a side wall.
Room Depth
Finally, measure the depth of your room from the wall where the screen will be to the opposite wall. You need enough space for the enclosure, a safe distance for hitting or playing, and any equipment you plan to use. An ideal room depth is at least 18 feet.
This space allows you to position yourself 10 to 12 feet from the screen, minimizing the risk of bounce-back and providing a more immersive experience. Some launch monitors may also require additional space behind the player, so check your equipment’s specifications.
Step 2: Test Your Swing and Motion
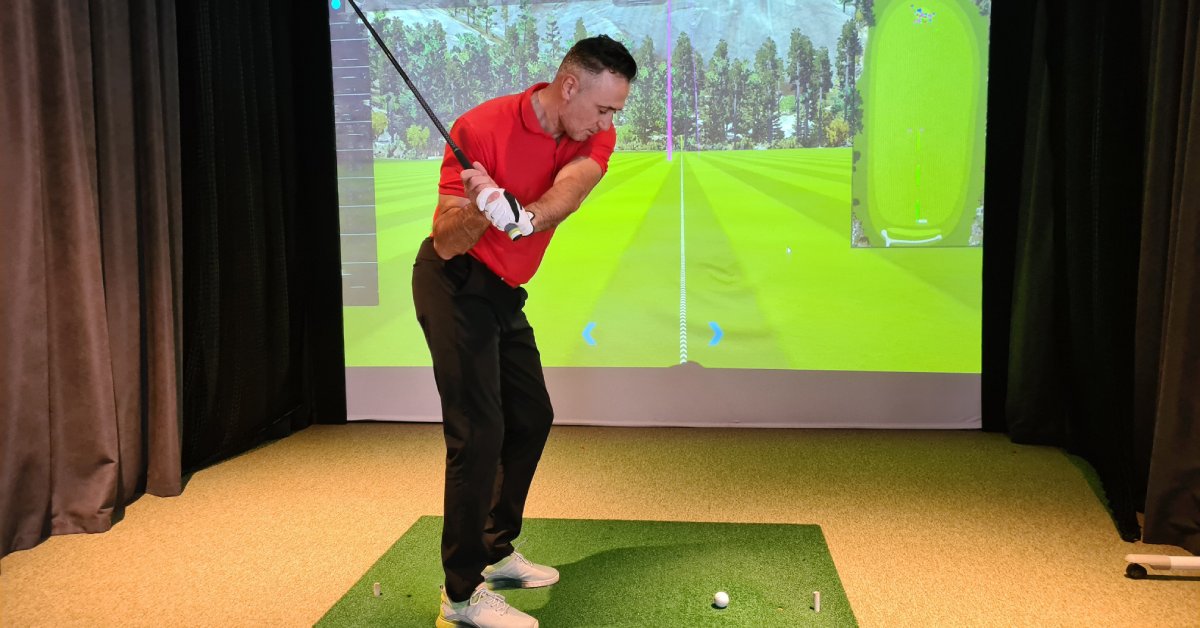
Once you have your room measurements, it is time to perform a practical test. Take the longest piece of equipment you will use—like a driver for golf or a baseball bat—and stand in the intended hitting area. Take a few slow, controlled practice swings or motions. Pay close attention to your range of motion during your backswing, follow-through, and peak movement.
Gradually increase the intensity of your motion until you are performing at full speed. The goal is to ensure you can move freely without any physical or mental constraints. If you find yourself shortening your swing or feeling hesitant because you don’t want to hit a wall or the ceiling, your space may be too small. A comfortable, unrestricted motion is essential for both enjoyment and accurate performance tracking.
Step 3: Account for Buffer Space
You cannot place your enclosure flush against the walls and ceiling. You must leave a buffer zone around the entire setup. This “buffer space” is critical for safety, proper installation, and protecting your property from damage.
Rear and Side Buffers
We recommend leaving at least 12 to 16 inches of space between the back of the enclosure’s impact screen and the rear wall. This gap allows the screen to absorb the impact of a ball or puck without transferring the force directly to the wall. For the sides, a buffer of at least two to three inches between the enclosure and your side walls is sufficient to prevent damage from stray shots.
Ceiling Buffer
Similarly, you should allow a minimum of two to three inches between the top of the enclosure and your ceiling. This gap makes the installation process much easier and prevents the frame from scraping against your ceiling. Without adequate buffer space, assembling the enclosure can be frustrating and challenging.
Step 4: Choose Your Aspect Ratio
The aspect ratio refers to the proportional relationship between the width and height of your screen. Matching your projector’s native aspect ratio to your screen will fill the entire display, creating the most immersive visual experience without black bars or distorted images. While many modern displays use a 16:9 ratio, the best choice for your simulator depends on your room’s dimensions.
4:3 Aspect Ratio
This ratio is taller and less wide, resembling older television screens. A 4:3 screen is an excellent choice for rooms with high ceilings but limited width. The additional vertical space provides a more complete view of a ball’s trajectory, making it a popular option for sports simulators where height is essential.
16:9 Aspect Ratio
This aspect ratio is the standard for modern high-definition televisions and is ideal for creating a cinematic, widescreen experience. A 16:9 aspect ratio works best in rooms at least 14 feet wide. If you have the space, this ratio delivers stunning, high-quality visuals that can make you feel like you are right in the game. In a direct comparison of versus sports simulator displays, 16:9 often provides the most engaging visual for viewers.
16:10 and 1:1 Aspect Ratios
The 16:10 ratio offers a balance between the 16:9 and 4:3 ratios, making it a good compromise for rooms that are not quite wide enough for a true widescreen setup. A 1:1 perfectly square aspect ratio is best suited for very limited or irregularly shaped spaces. While it can work, you are more likely to see black bars around the projected image unless you use a projector with a matching native resolution.
Ultimately, we recommend selecting the largest enclosure that fits comfortably within your measured space while respecting the necessary buffer zones. This approach ensures you get the most immersive and functional setup possible.
Transform Your Space Into a Sports Sanctuary
By carefully measuring your room, testing your movement, accounting for buffer space, and selecting the right aspect ratio, you can now choose the best sports simulator enclosure size. This planning ensures your investment provides endless entertainment and training opportunities for years to come.
An HD SportSuite simulator transforms any room into a premium recreational experience. With a commitment to quality and remarkable dependability, our systems offer unparalleled immersion for your home or business. If you are ready to elevate your space, our team is here to help you design the perfect solution.